
A practical editing walkthrough
Retouch the small spot.
Keep the skin texture.
A natural repair changes very little. Here we work on three isolated marks in a real portrait, then make a modest light adjustment. The rest of the face, including broader redness, stays.
Open this portrait in Studio →Free local tools. No account or Credits needed.
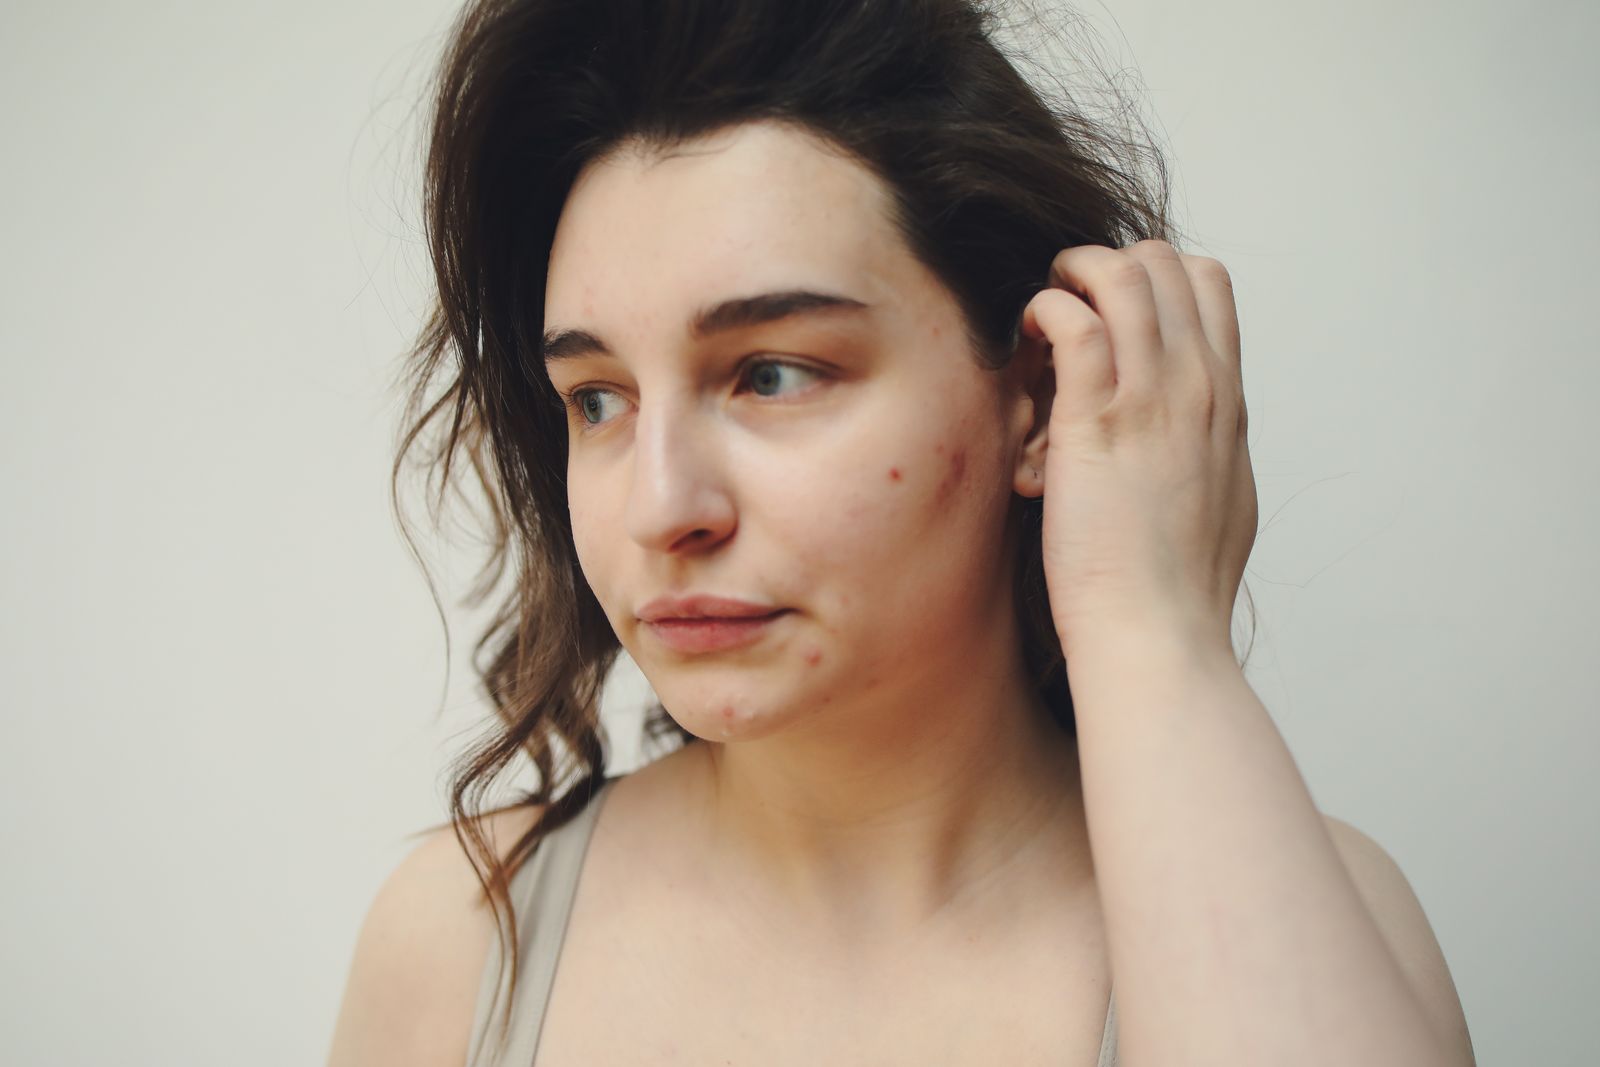
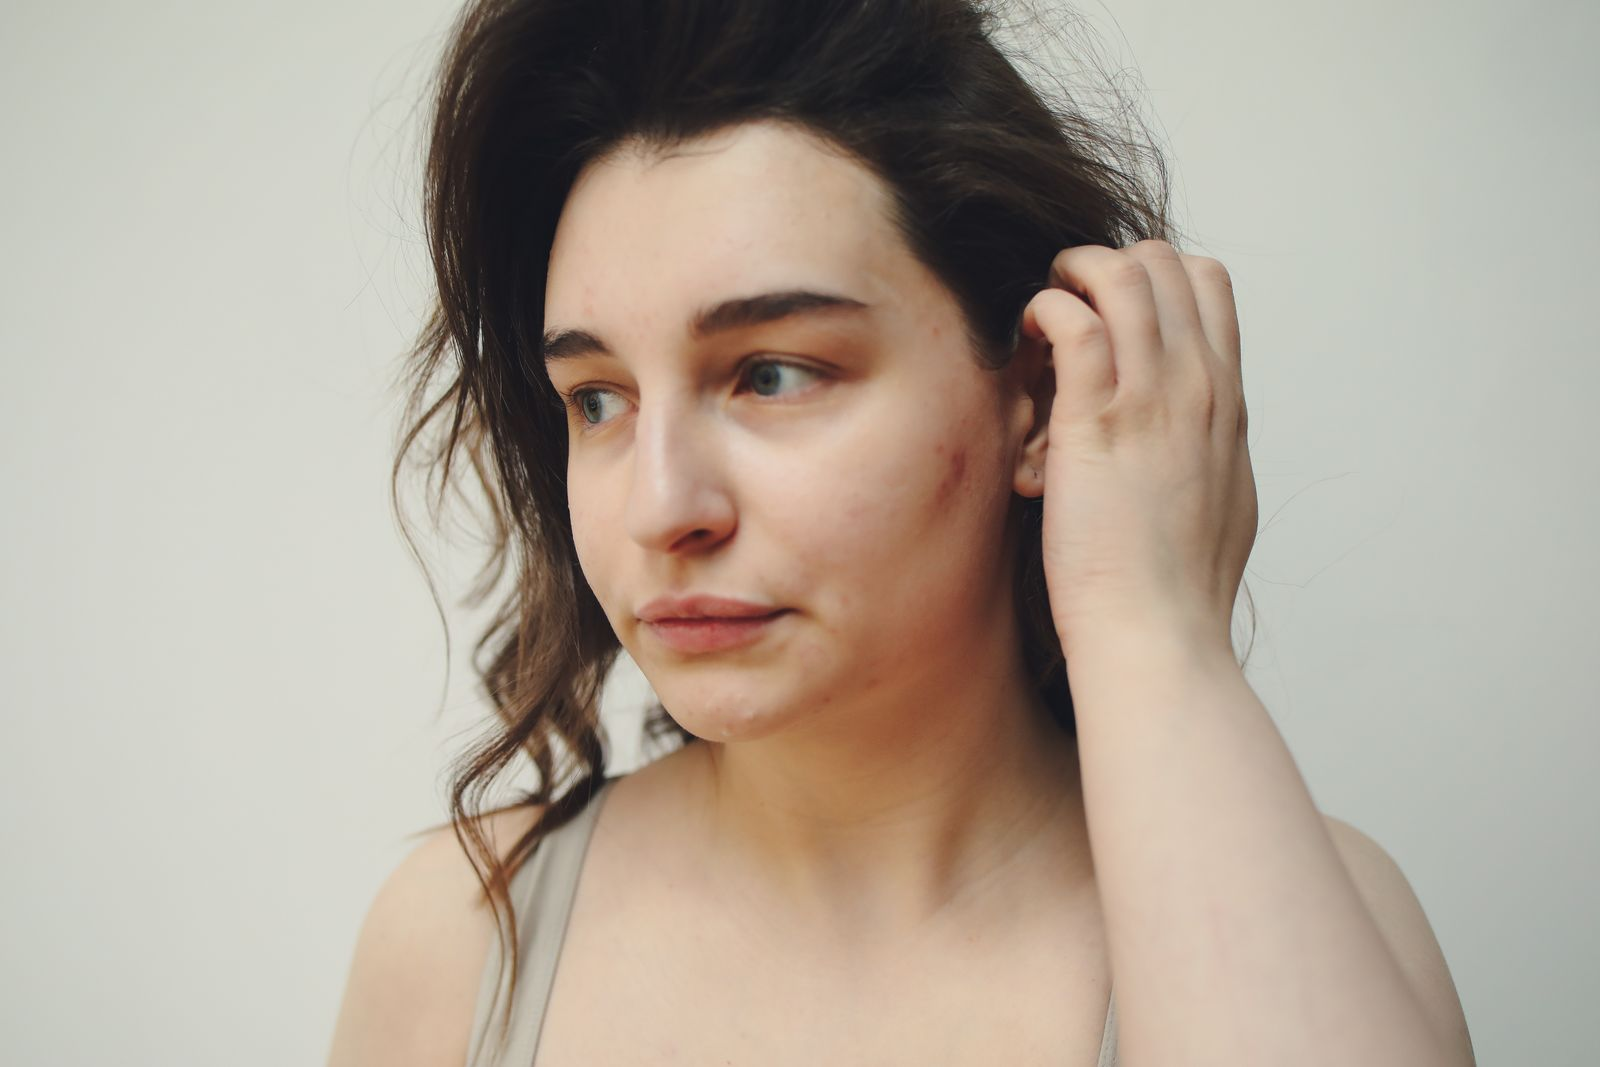
1. Start with a spot the brush can handle
Choose Retouch → Spot Repair. This tool borrows surrounding photo detail to repair a small area. It works best on an isolated mark surrounded by similar texture. A lash, lip edge, hairline or textured fabric seam is a harder boundary: a repair may smear it.
On this 1600 × 1067 photo, set the spot brush size to 12. Use one click on each of the three marked locations below. They are examples of small areas with nearby skin detail, not a suggestion to remove every feature of a face.
123The circles identify the three clicks; they are guide annotations, not part of the edited photo.
2. Inspect the repair before doing another
Use 1:1 to inspect the image at actual size, and pan to the repaired area. Look for repeated texture, a soft patch, or an edge that bends. Use Compare to check against the original. If it looks worse, choose Undo stroke and try a smaller area; each completed repair is separately undoable.
Do not keep brushing over a poor repair. This example deliberately leaves the broader cheek redness. Local Spot Repair is not a skin-smoothing filter and is not designed to reconstruct large missing areas.
3. Adjust the light on the same working photo
Switch to Adjust; the repairs stay. In this example, Exposure +0.15 adds a small overall lift, Shadows +12 opens darker detail, and Highlights −12 restrains the brightest areas. These values suit this photograph, not every portrait.
If your photo is dark, lift exposure gradually and watch bright skin and clothing. Use Shadows when the dark areas need more help than the rest of the image. Stop when texture starts looking flat or noise becomes distracting.
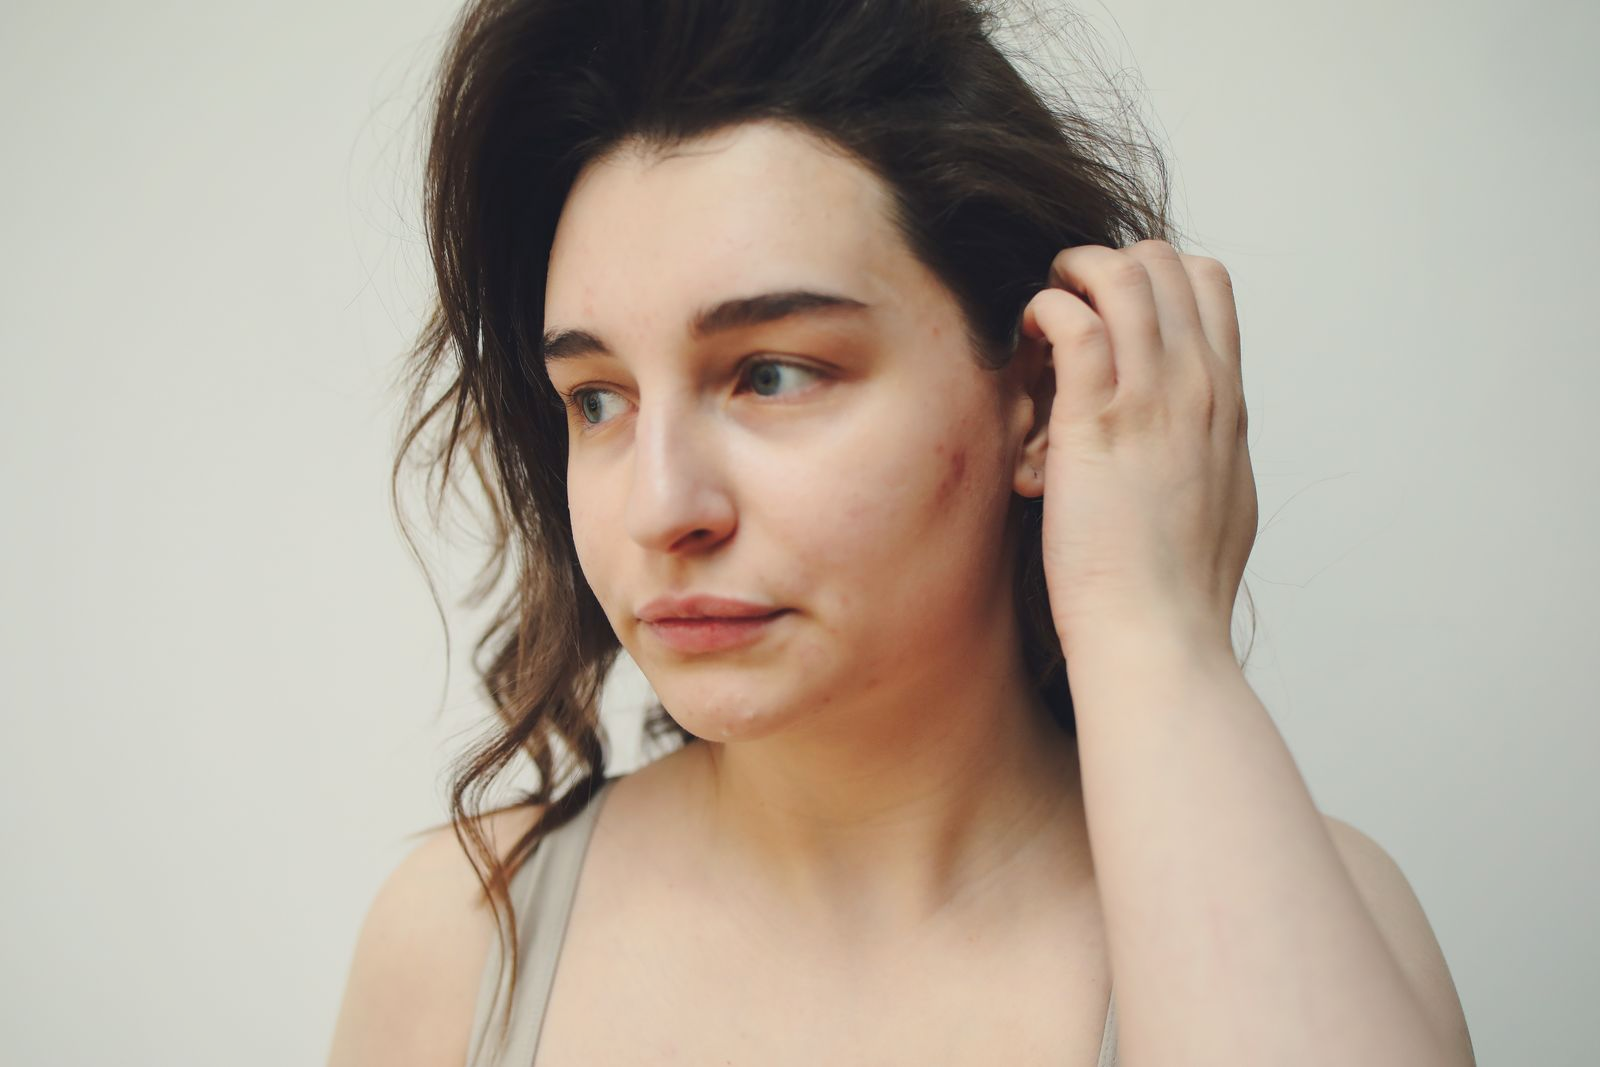
4. Download, or keep an editable Creation
Download a PNG, JPG or WebP when you are happy with the result. If you add a caption, the downloaded image includes those words as pixels. To change the text later, sign in and explicitly choose Save to Creations. Reopening that Creation preserves the editable objects and original photo. Signing in alone does not upload the draft.