
AI Image-to-Image Generator
Start with the image you already have. Make a new version without starting over.
Transform an existing image with AI: change the lighting, background, style or overall direction. Choose a result you like, make one quick change, or describe your own idea in Studio. Keep working from the version that feels right.
Transform your image Explore transformations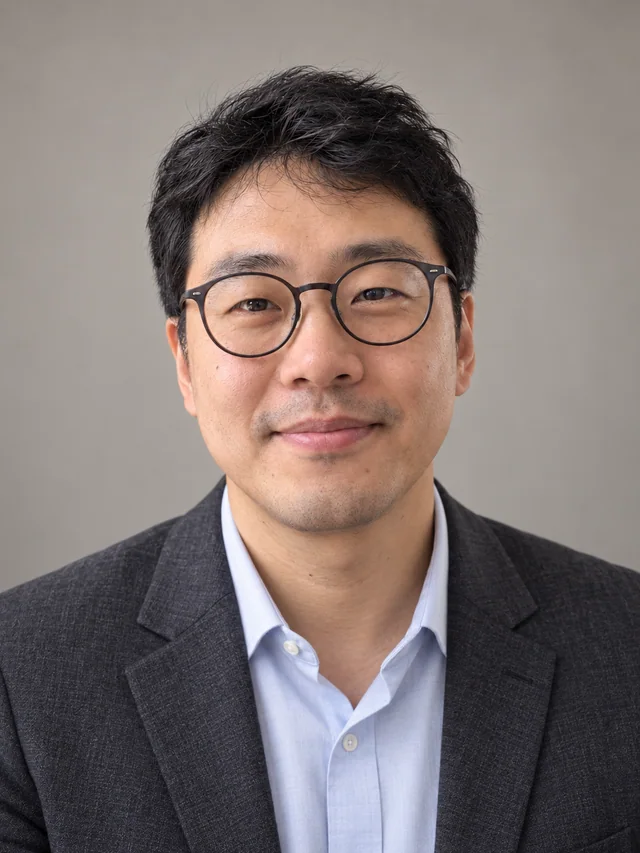

What could your image become?
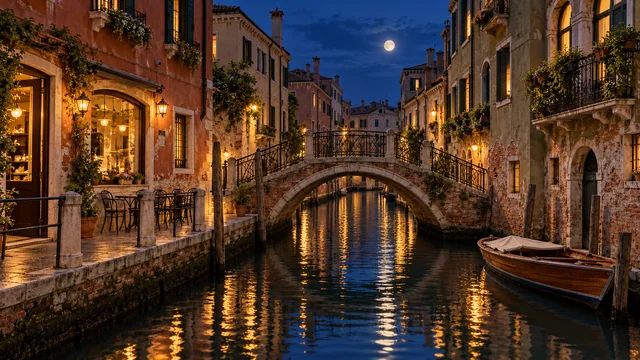
Find a result you would like to make. See what it started with, then try the same direction with your own image in Studio.

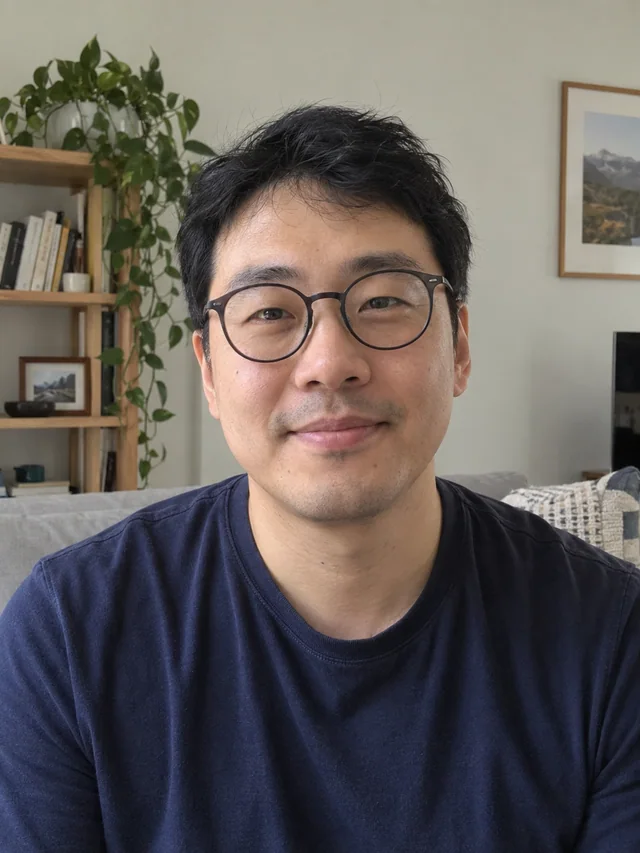
Soft Window-light Portrait
Bring softer window light and a calmer atmosphere to a portrait of someone you know.

Game Item Icon
Resolve an object photo or prop sketch into a readable inventory icon, keeping its defining silhouette while clarifying material, light and small-scale contrast.

Product Hero Shot
Build a stronger campaign image around your product with deliberate light, rich materials and breathing room, while keeping the package recognizable.

Storybook Illustration
Bring a familiar photo into a softly painted storybook world, preserving the subject's gesture and the small details that make the scene personal.

Anime Portrait
Turn your photo into an expressive anime portrait, carrying over the hairstyle, glasses, colors and facial cues that make the person recognizable.

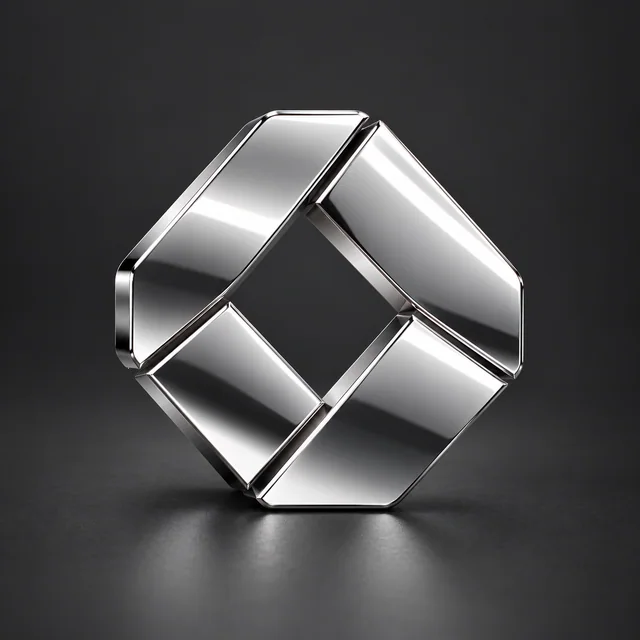
Embroidered Logo Patch
Turn a flat logo into a tactile embroidered patch, carrying its main colors and shapes into thread, stitched edges and fabric depth.

Game Character Portrait
Develop an existing character into a focused game portrait, carrying its face, costume cues and personality into polished dialogue or character-card artwork.

Product on White
Give an ordinary product photo a clean white setting and soft grounding shadow, retaining the item's recognizable shape, color and surface finish.
Transform a photo with AI into an anime portrait or storybook illustration, give a logo a new material, or turn a sketch into finished game art.
Browse TemplatesAlready know what you want to change?
Jump straight to the lighting, background, color, restoration, style or variation you want to try. Add a few words in Studio when you have something more specific in mind.
Keep the portrait. Change the afternoon.
Keep the person and framing you already like, but try warmer late-afternoon sun, softer window light or a more dramatic studio setup. It is a useful next move when the picture works and the mood does not.
Compare skin tone, facial features and shadows before keeping the result.
Try warmer lightBring your own image to try this in Studio.

How to write an image to image prompt
Tell it what should change — and what should stay.
To edit an image with a prompt, start with the picture you already have and describe the change. Name the details you care about keeping, then add a mood, material or setting if it helps. You do not need to rewrite the whole scene.
Try wording like this, adjusted to your image:
- Change What should be different?
- Use softer window light with gentle shadows.
- Keep Which details matter?
- Keep the same person, curly hair, red sweater and framing.
- Optional direction Mood, material or setting
- Aim for a calm, natural portrait rather than a dramatic studio look.
Upload your image, adjust these words to fit, and choose when to create.

Starting image
A new version
Name glasses or accessories only when they are actually in your photo. Check the face and hairline as well as the light.
Start specific, then compare. “Make it better” leaves the change open to interpretation. “Soften the shadows; keep the face, clothes and framing” gives you something concrete to judge. A keep instruction is guidance, not a guarantee: compare those details before continuing.
Give the important details a clear starting point.
Use an in-focus face, readable logo or clearly outlined object. Keep important edges in frame and avoid heavily compressed screenshots. For restoration, bring the clearest scan you have.
PNG / JPG / WebP · up to 10 MB
Check image upload requirements →Keep a similar shape for a closer composition.
Studio starts with a shape close to your image. Changing it can reframe the scene, rather than simply crop it. If the framing matters, keep a similar shape and say which edges or objects need to stay in view.
Help with your first image →A good result can be the beginning.
Keep the version you like and take that one in another direction. Here, a restored portrait becomes the starting image for a color version. Each result gives you a choice about where to go next.

The original
- Vintage Portrait, Renewed

- Black & White to Color

In Studio, open the result and choose Transform again to use that image. Try Make variation for a nearby alternative, or download the version you are ready to keep.
Compare before you continue. If a face, label or shape has moved too far, return to an earlier version. Building on a result can also carry its unwanted changes forward.
In Mixboard, saved results are called Creations. Reopen one to continue from it; signed-in work is saved to your account, while guest results stay in this browser. How to reopen, continue and download →
What stays familiar, and what can change
A new version can move more than you asked.
Your picture guides the result; it does not lock every detail in place. Ask for one main change and name the things you want to retain. A polished image is not always the most faithful one.
Open the result at full size before continuing or using it. If an important detail has changed, go back to your source and try a more specific direction.
- Faces & characters
- Compare the eyes, expression, glasses, hairline and accessories. Check hands, clothing and pose too. Even a subtle lighting change can alter likeness.
- Products & logos
- Trace the outline, read labels and small lettering, and check proportions. A new material or setting can change a mark or product shape.
- Buildings & scenes
- Check windows, doors, rooflines and perspective. Look for objects that have appeared or disappeared, especially near the edges.
- Old photographs
- Recovered detail is an interpretation. Keep the original alongside the result; newly clear faces or textures are not proof of historical detail.
A few things worth knowing.
Starting with an idea instead of a picture? Explore the AI Image Generator to create an image from a description.
What is an AI image-to-image generator?
Image to image AI, sometimes called img2img, starts with a picture you already have. Bring a photo, logo, sketch or illustration and describe what should change, or choose a result you want to make. The result is a separate image you can compare, download and keep working from.
What can I change in an existing image?
Try a different light, background, palette or visual style, restore a damaged photograph, or explore a nearby variation. You can also aim for a particular result: a professional headshot, a product hero shot, a game item icon or a logo in a new material. Start with the result you want, then bring your own image into Studio.
Will my original image be changed?
No. A transformation creates a separate result. You can return to your source or continue from a version you prefer without overwriting it. Signed-in results are saved in your account; guest results stay in that browser, so download anything you want to keep.
How well does it keep the same person or subject?
Your image guides the result, but likeness and small details are not guaranteed. A face can acquire different glasses, a product can change shape, and a hairstyle may not follow the requested length exactly. Ask for one main change, name the details that matter, and compare the result at full size. Return to the source if those details drift.
Can I use another image as a reference?
Some templates ask for a specific reference, such as a pose or hairstyle. Choose what you want to make first; Studio will ask for any additional image it needs. Look at the small input images on a template to see what its example started with.
Can I change only the background?
You can ask for a background change while keeping the subject, but other details may move too. Hair, clothing and object edges deserve a close look. Transforming a picture this way creates a new version of the whole image rather than editing a masked region pixel-for-pixel; this tool does not offer a local selection or mask.
Can I transform a logo, product or illustration?
Yes. Explore material changes for logos, cleaner product presentations, game art and illustrated treatments. Use the result to explore a direction, and inspect outlines, lettering, labels and important proportions before using it. A convincing image is not a guarantee of exact brand or product accuracy.
Can I keep working from a generated result?
Yes. Open the result you want to build on and choose Transform again, or explore a nearby version with Make variation. Each result becomes a possible starting point. Compare it before continuing: a detail that changed unintentionally can carry into your next version.
What image formats can I upload?
Studio accepts PNG, JPG and WebP images up to 10 MB. Use a clear image where the subject is large enough to read. Avoid heavily compressed screenshots and cropped-off edges that are important to the result. For restoration, bring the clearest scan available.
How is this different from an AI image generator or photo editor?
An AI image generator starts from an idea you describe. An AI image transformer starts from a picture or an earlier result and uses your prompt to make a new version. Unlike a conventional photo editor, it can reinterpret the whole image; it does not offer a local selection, mask or pixel-level repair. For controlled crop, light, Spot Repair and editable text, open Photo Editor.
What would you change next?
Bring the picture you already have. Make a new version, compare it, and keep going from the one you like.